The Spheron Console is the easiest way to lease compute resources and deploy pre-configured models—whether you're a beginner or an expert looking to scale. Ready to dive in? Follow these steps to get started and unleash your creativity!
Step 1 : Sign up on Spheron
Let’s kick things off by getting you set up!
- Head over to console.spheron.network
- Login and create your account.
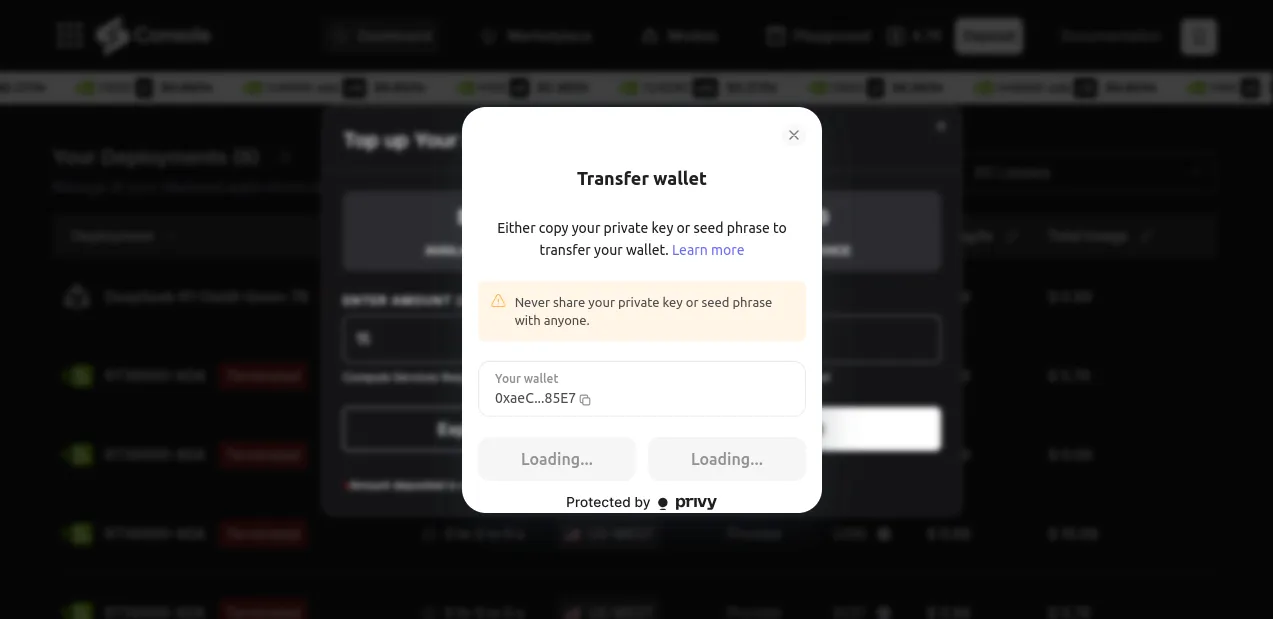
- Once you’re in, click Deposit, then Export wallet to secure it.
Step 2 : Get funds
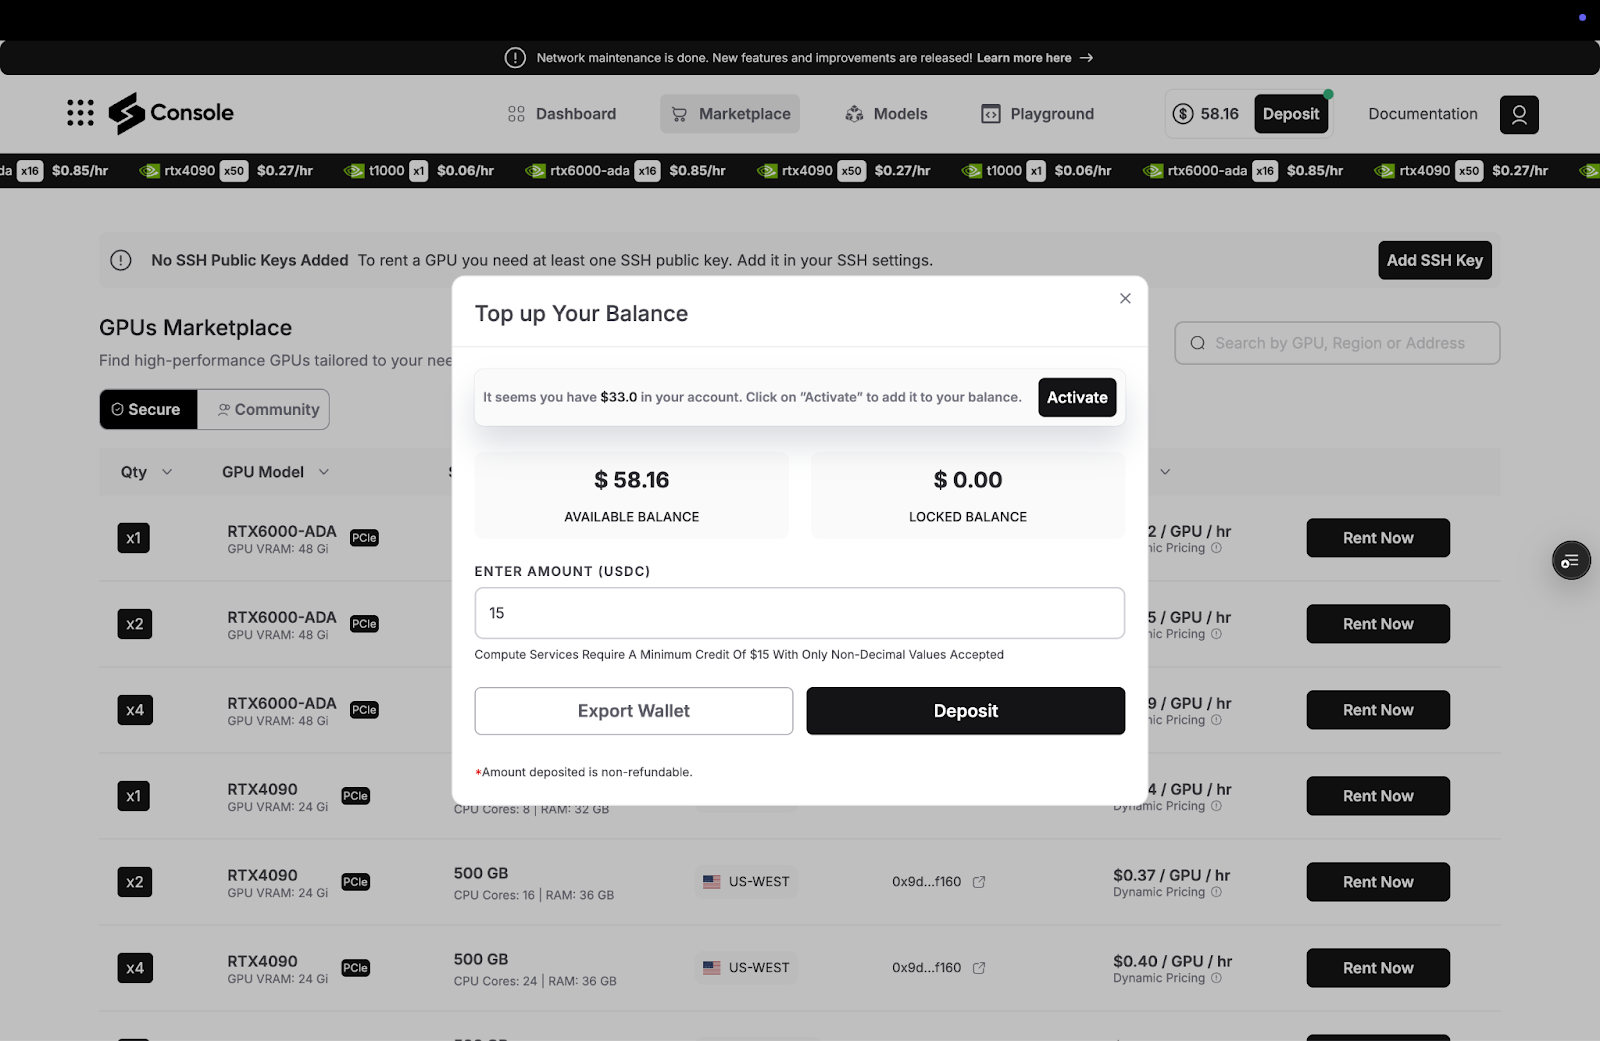
Time to fuel your wallet for action!
- Check your wallet balance for available tokens. If you've won credits, click "Activate" to make them visible. If you encounter any issues, reach out to us on Discord.
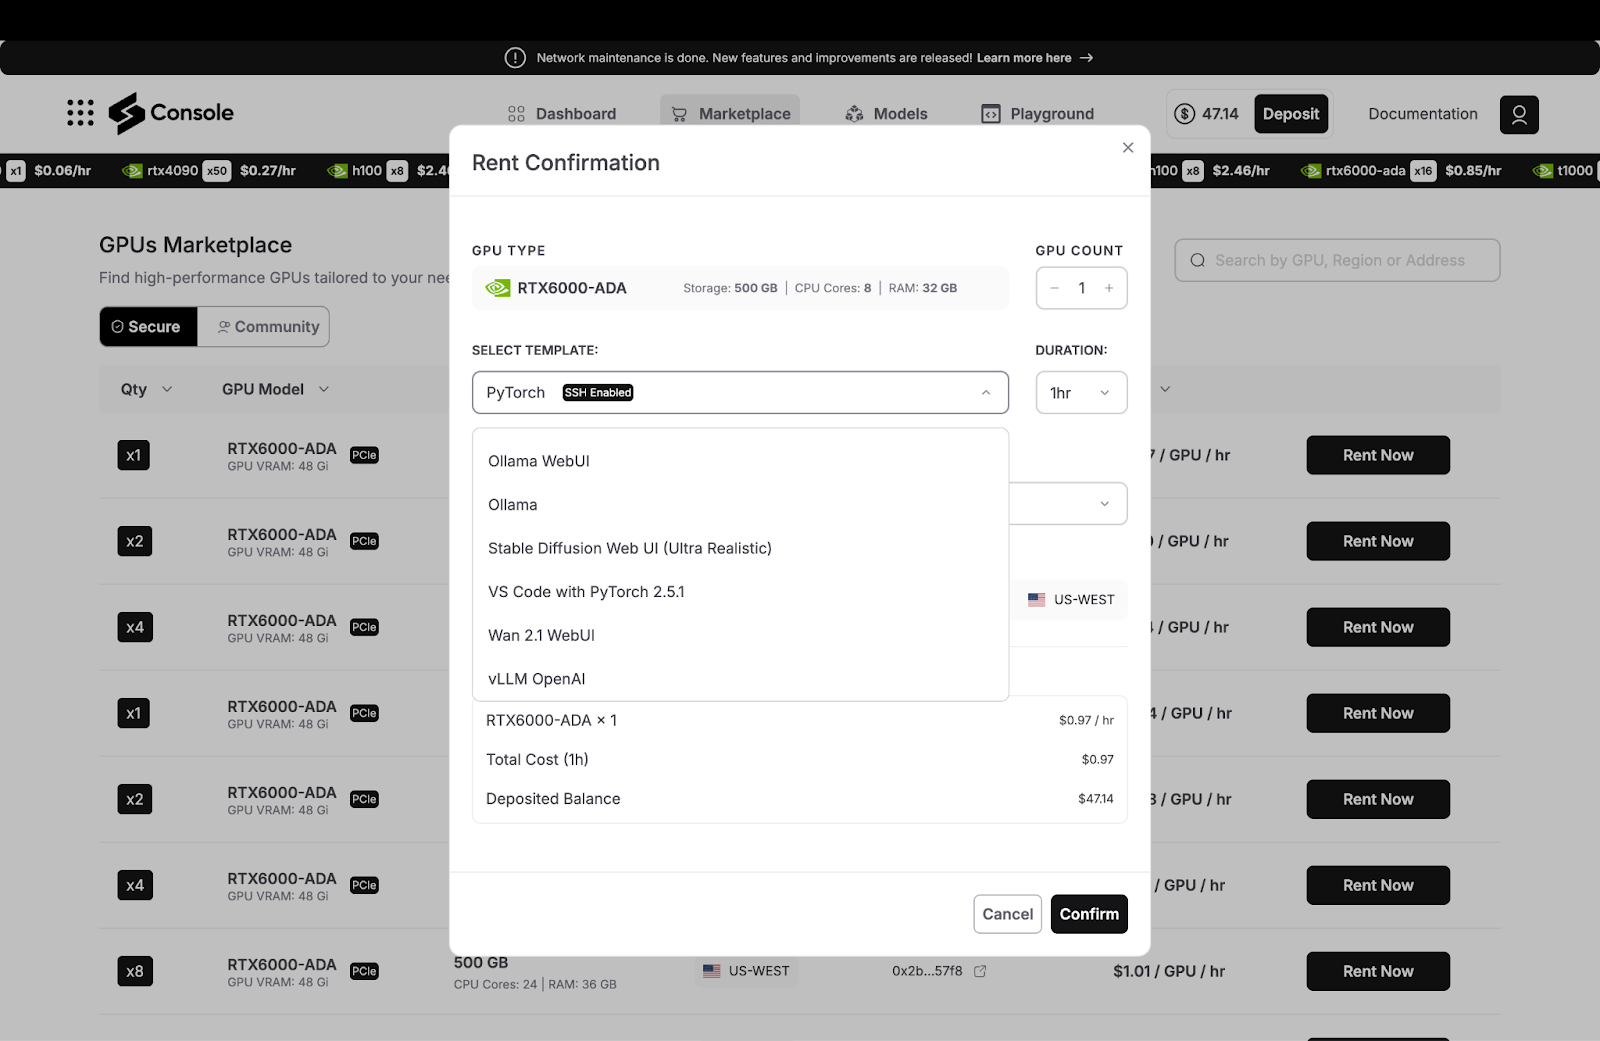
Step 3 : Choose Machine
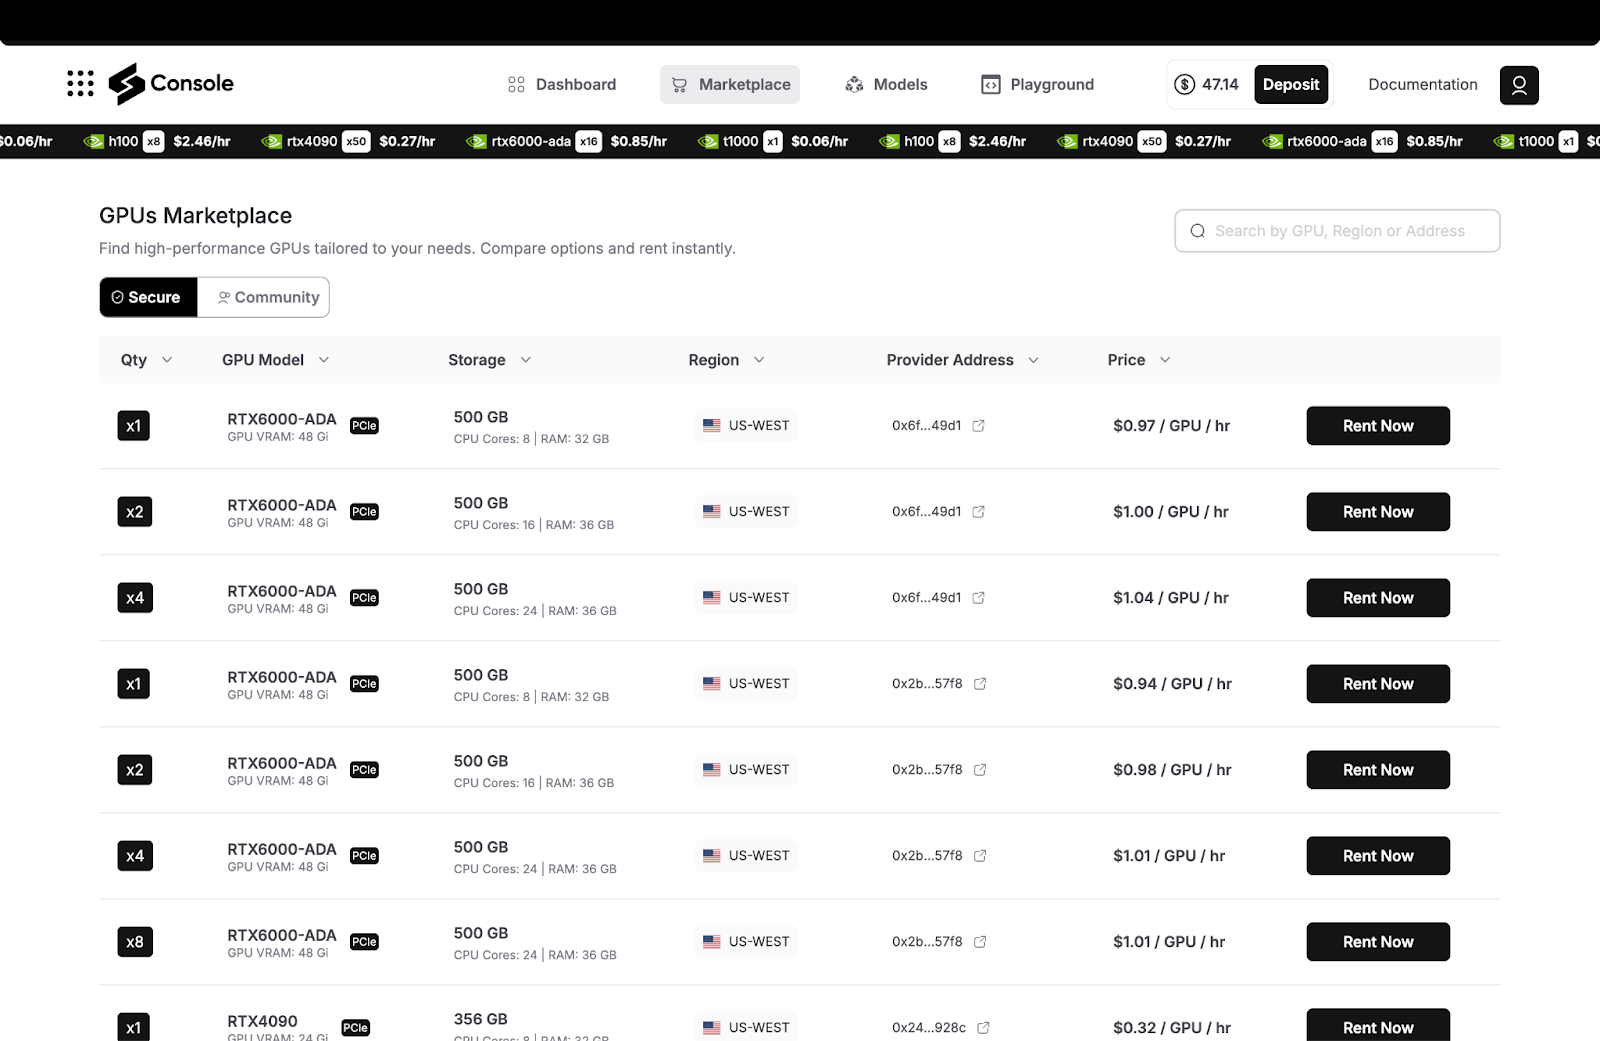
Now for the exciting part—picking your compute power and deploying models! You’ve got options:
- Browse the Marketplace: Select a GPU that matches your project’s needs, then pick a template to hit the ground running.
- Get Creative in the Playground: Customize your setup by deploying a YAML file—perfect for those who love control!
Step 4 : Choose Models
Now for the most fun part—Deploy specific pre-configured models with just a few clicks.You can choose the following models :
Stable Diffusion WebUI - This model can generate photorealistic images from text prompts.
Wan2.1 WebUI - This model can generate videos just via text prompts.
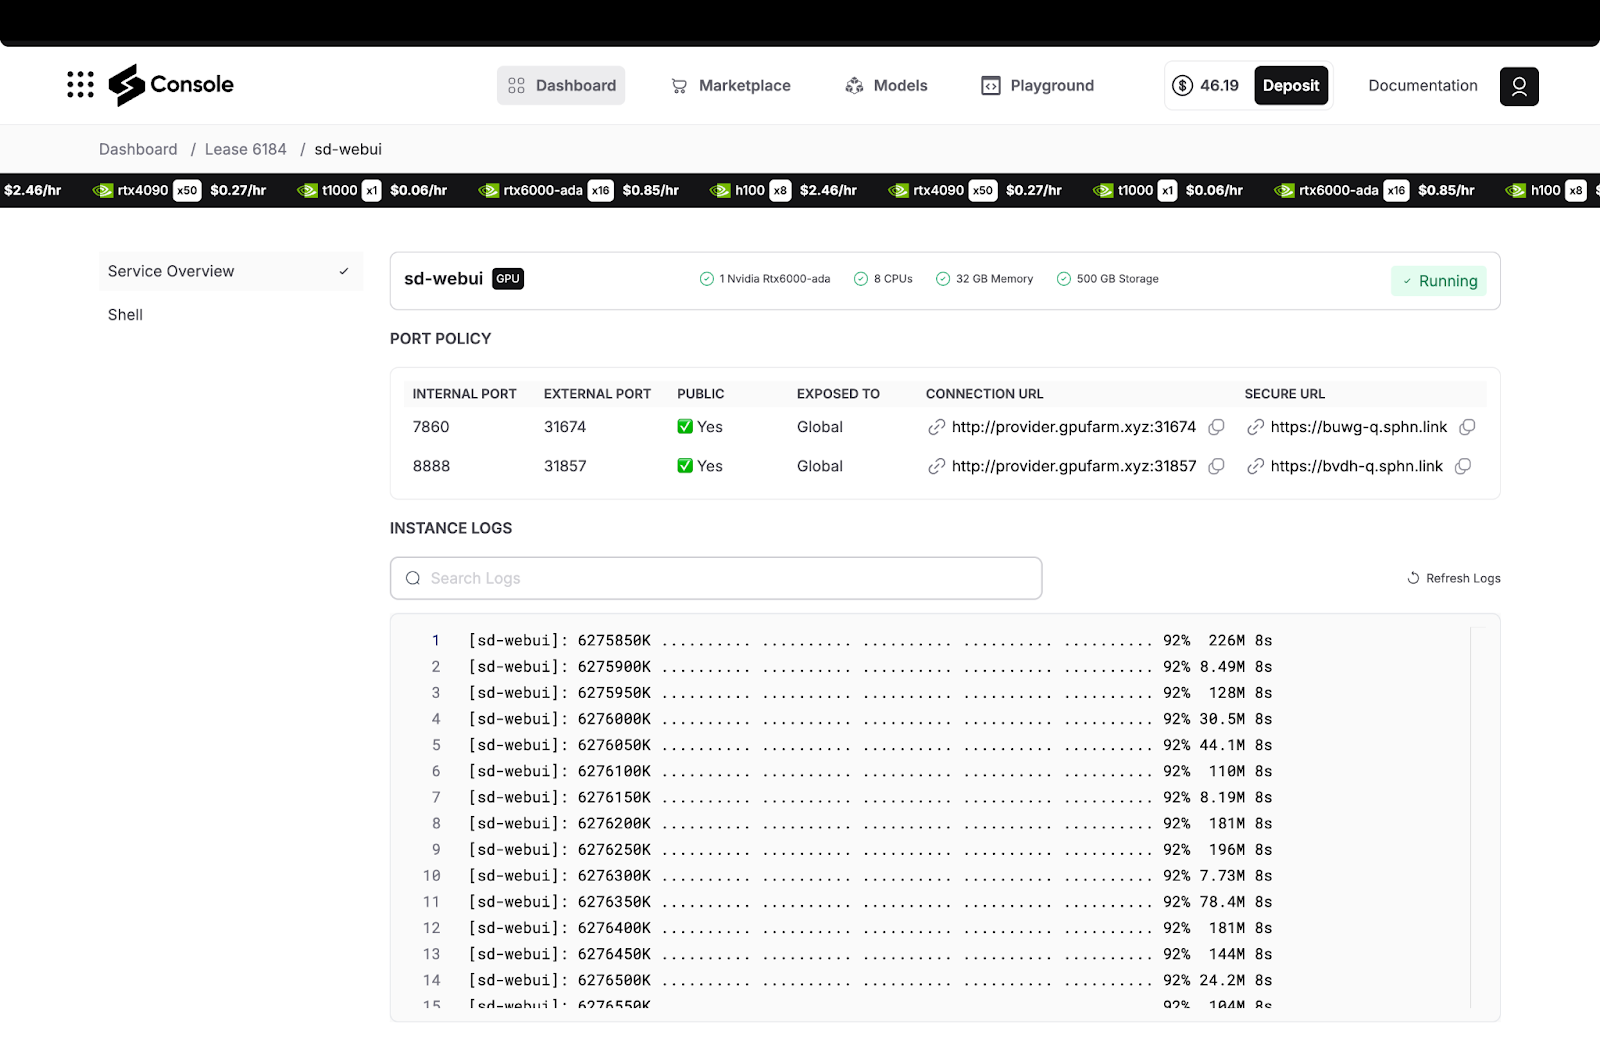
Step 5 : Access the Models
Wait a few minutes for the models to load (text-to-image/video models typically take 10-15 minutes to download),after the model is loaded you will be access it at connection url of port 7860.